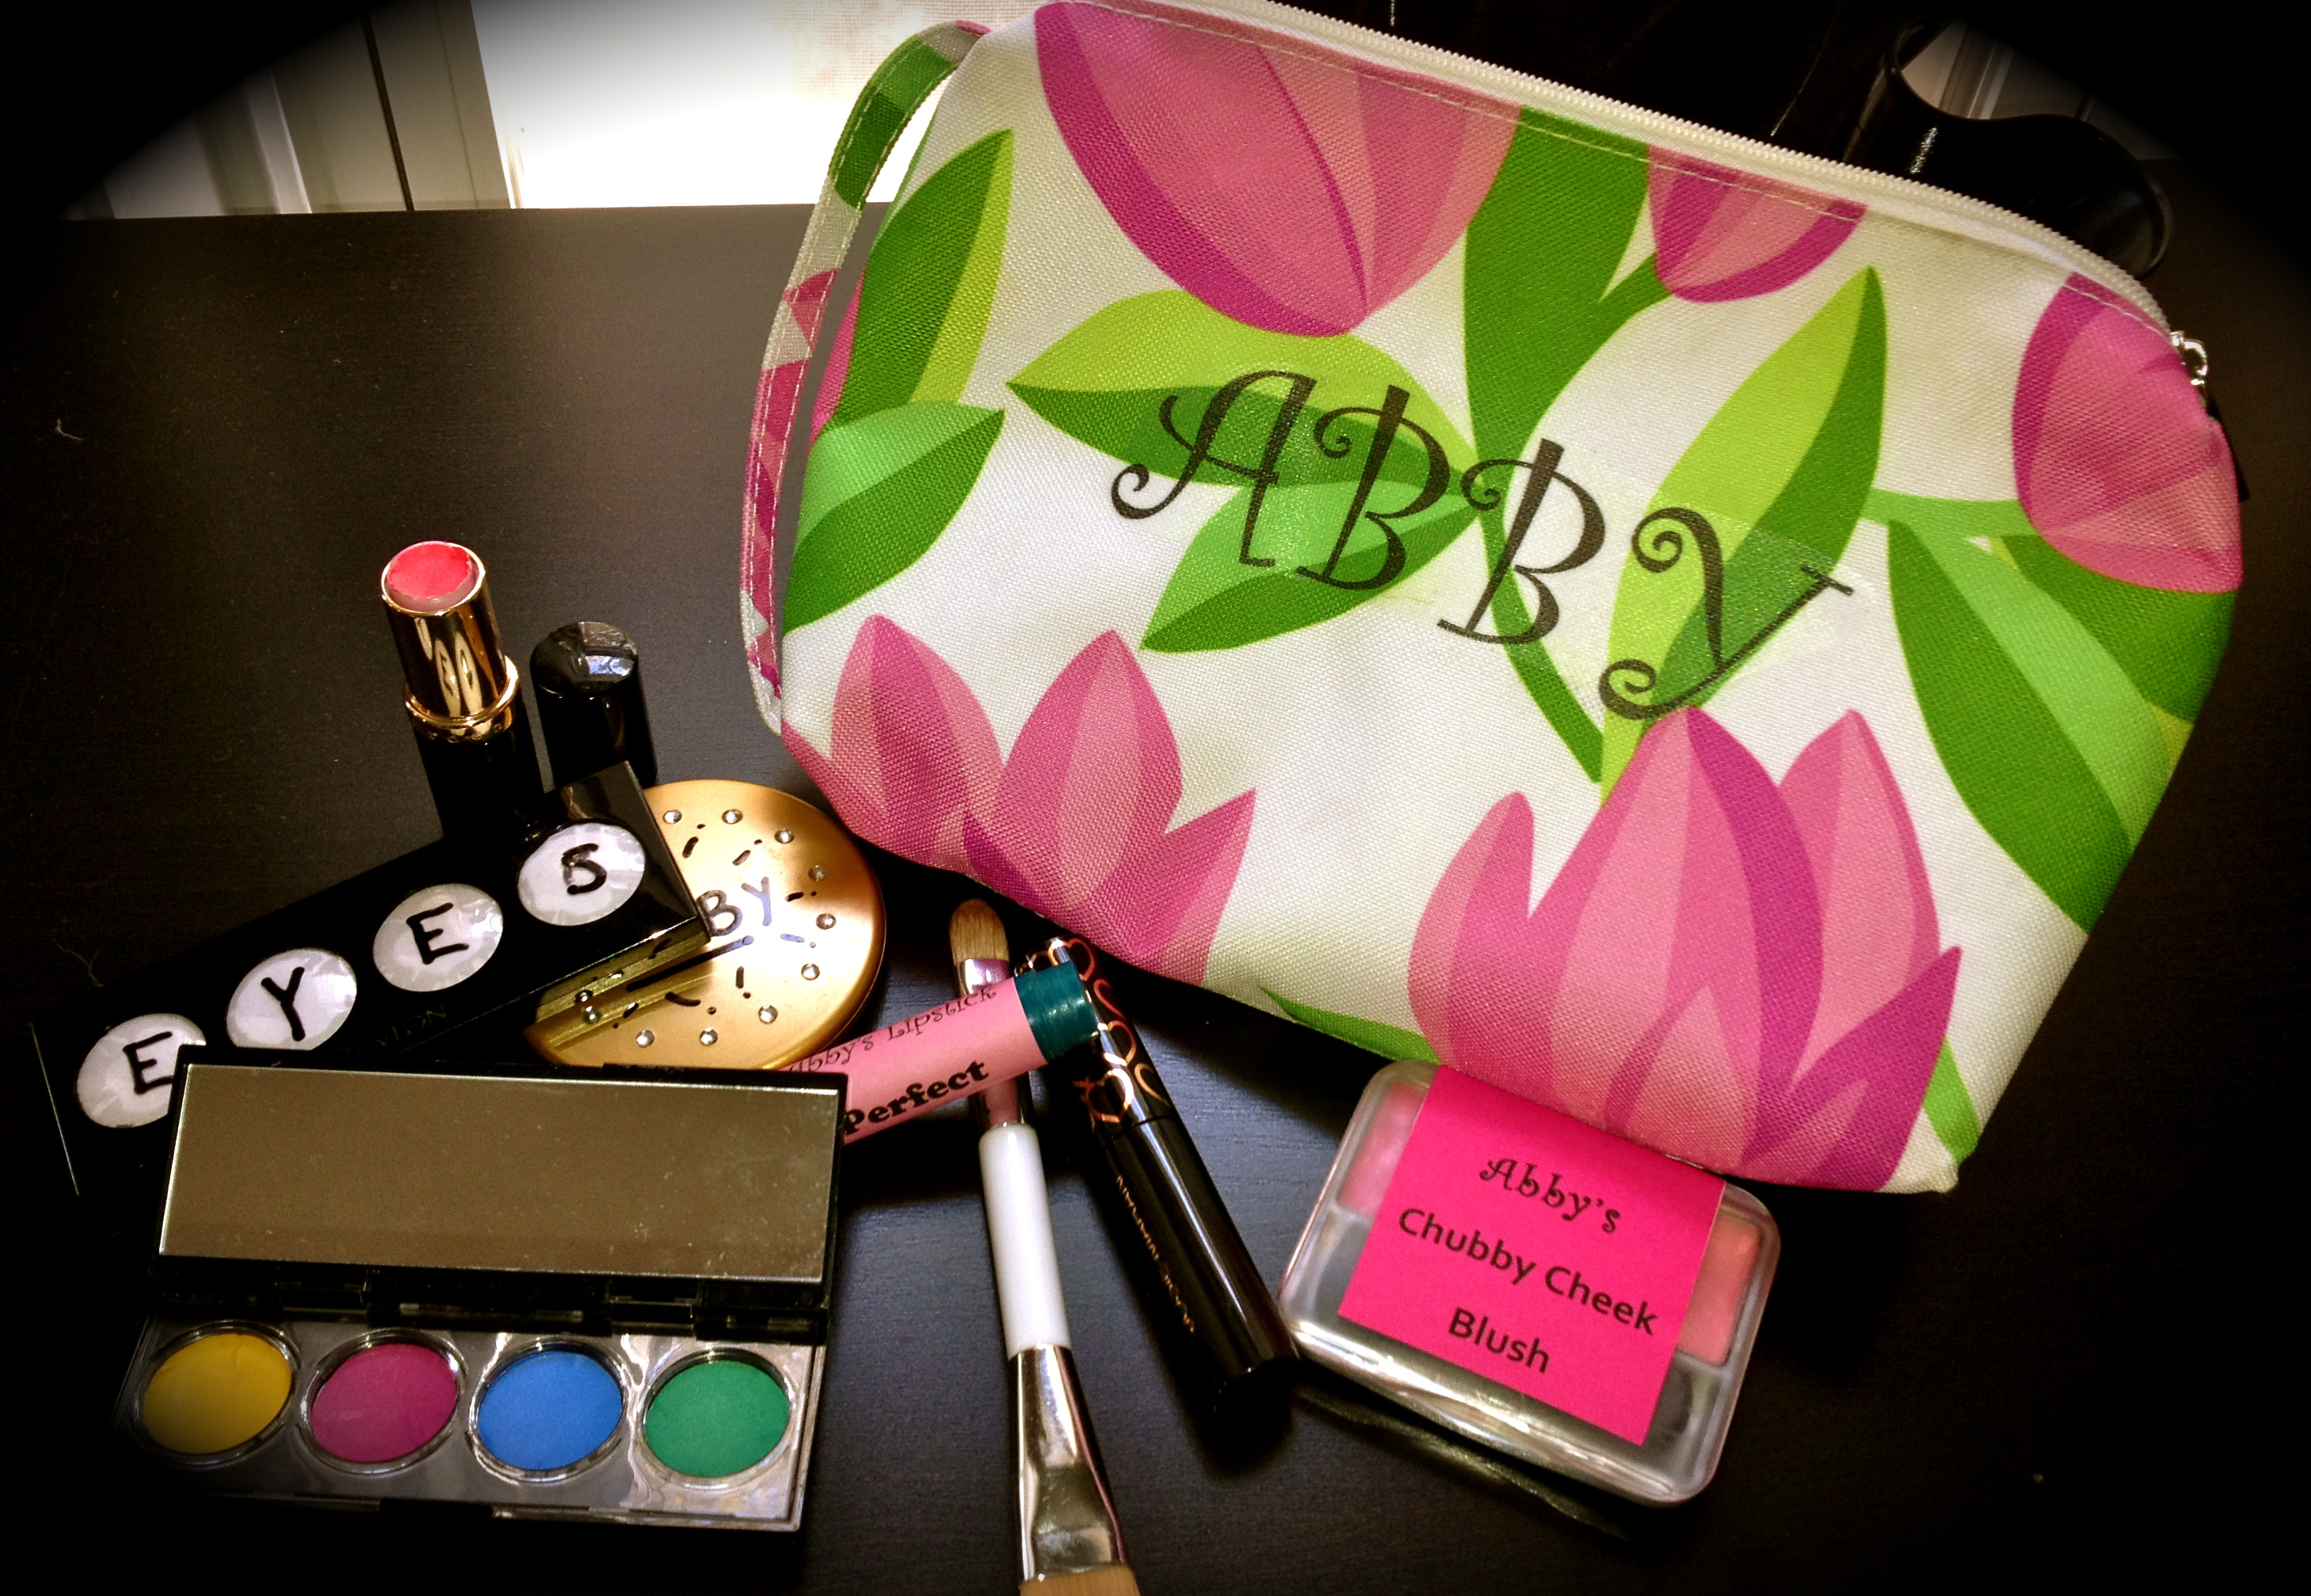
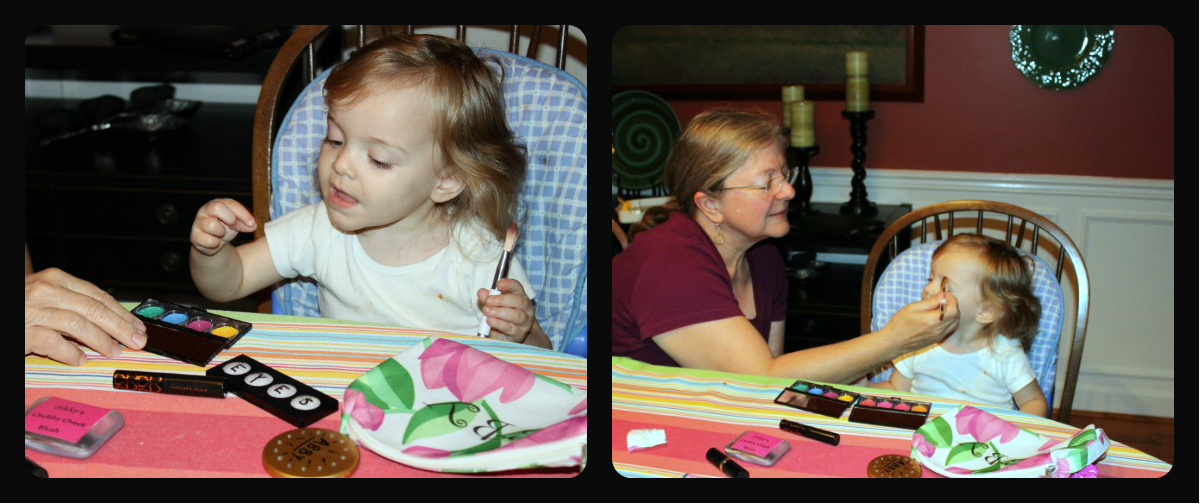
My niece, Abby, is a diva. She’s loud, beautiful, always the center of attention, and LOVES makeup. Abby is such a budding beauty queen that her older sister has to hide makeup from her. (Or, risk the rath of Mom when Abby turns up covered in lip gloss after a nap. True story.)
So, when Abby’s second birthday came around, I knew exactly what to get her. But, man was I having a tough time finding an affordable, FAKE makeup kit. I mean, the kid is only two for goodness sake! Then it hit me. I can totally make this!

It’s not quite as fancy as the ones at Mini-Play Makeup, but it only cost me about $6 to make. Plus, when Abby opened the gift, not only did she squeal in glee, but her Momma thought the makeup was real and nearly had a heart attack. Now, that’s a little gift for Auntie Rose. 🙂

DIY Makeup Kit for Kiddos!
If you’re like me, you’re prone to hoarding half used makeup that will never touch your face again. This project is perfect for just that! Way to upcycle!
Step One: Gather old, unwanted makeup. I used two eyeshadows, one blush, chapstick, lipstick, and mascara. Throw in an old makeup bag, a compact, and a few brushes for good measure.
Step Two: Clean out all that old makeup.
 Blush & Eyeshadow: Whether powder or cream, I found these are the easiest to clean out. For powder, grab a butter knife and run it along the inside edge of the metal tray. You may have to break the pressed powder into smaller pieces a bit, but it should all come right out. For cream, use a few q-tips to swab the goop out. After removing most of the makeup, wash the containers with baby shampoo.
- Chapstick & Lipstick: I opted not to clean out the chapstick as it’s not sticky and can’t do much damage. For the lipstick, I used a q-tip to remove most of the lipstick, then filled the tube with tissue. Once that is covered with your printed sticker, it looks brand new.
 Mascara: Now, this is the hard part! I did a ton of research on how to empty a mascara tube. Everything I found said to use dish soap and/or baby shampoo and just let it soak. I tried both. Over, and over again. Yet I was still ending up with water flowing out of the tube that was coal-black. But, fear not, my friends! I figured out the problem. You MUST REMOVE THE PLASTIC STOPPER. That’s the teeny, tiny piece that the brush runs through on its way in and out of the bottle. Yes, that thing.This isn’t entirely easy either. I tried using a knife to wedge the thing free, but ultimately succeeded by using my very own handy, dandy teeth. Just trust me, you can do it.
Once you succeed, the rest is easy. Just wash it out real good, scrub the brush, and let them dry completely.
 Step Three: Create your fake makeup and branding stickers. I printed a variety of different color blocks on some sticker paper for the makeup and then cut it out to size. For the branding, I used sticker paper where I could and a paint-pen on the others. It takes some patience (and a ruler) to get the sizing just right, but since this is a gift for toddlers it really doesn’t have to be perfect. If you’re feeling like an overachiever, try felt and double stick to give your makeup some texture.

Step Four: Throw it all in a makeup bag! I personalized Abby’s with her name using iron on transfer paper. I know all iron ons say it’s not safe to use them on polyester, but my polyester bag survived. Boo-ya!
Special note: Make sure you remove anything that presents a choking hazard/potential for injury based on the age of the recipient. I removed the lid for the chapstick and wrapped the pointy end of the mascara wand with electrical tape. I considered not including the mascara at all, but I had put way to much energy into that thing. Instead, I included a little note for my sister and let her decide.


Amazing idea, Rose! Thanks for the tips 😀
Thanks, Jenny! If someday you decide to make one for Anne, try using nail polish to paint the trays instead of the stickers. It was a lightbulb idea that struck after the fact.
Such a great tutorial. I, like you, was shocked there was not a more affordable fake make up option out there. It’s like, spend $30-$60 or get a cheapo one that makes messes. No way. My mom used this and made my daughter a set. (http://joeandanna.blogspot.com/2012/12/mess-free-make-up-set-for-toddlers.html )
I’m glad your family found the tutorial helpful. And I’m most happy to know your adorable daughter is enjoying the results!