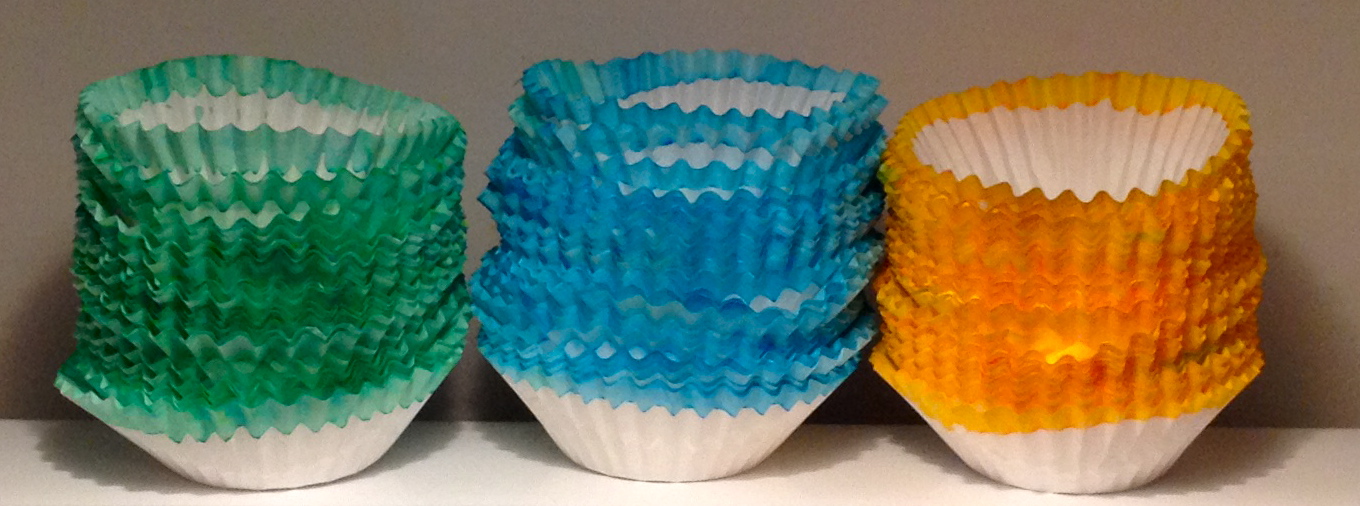
The majority of my weekend was spent making a very time-consuming decor element for an upcoming event.
Dying three to four HUNDRED cupcake liners is only step one. I’m not ready to spill the beans about what we do with all these dyed cupcake holders, but trust me it’s freaking awesome.
In the meantime, I want to share my experience with this crafty cupcake trend that Lauren over at Little Wren started.
Lauren makes it look so easy (and beautiful). My experience was a bit more frustrating.
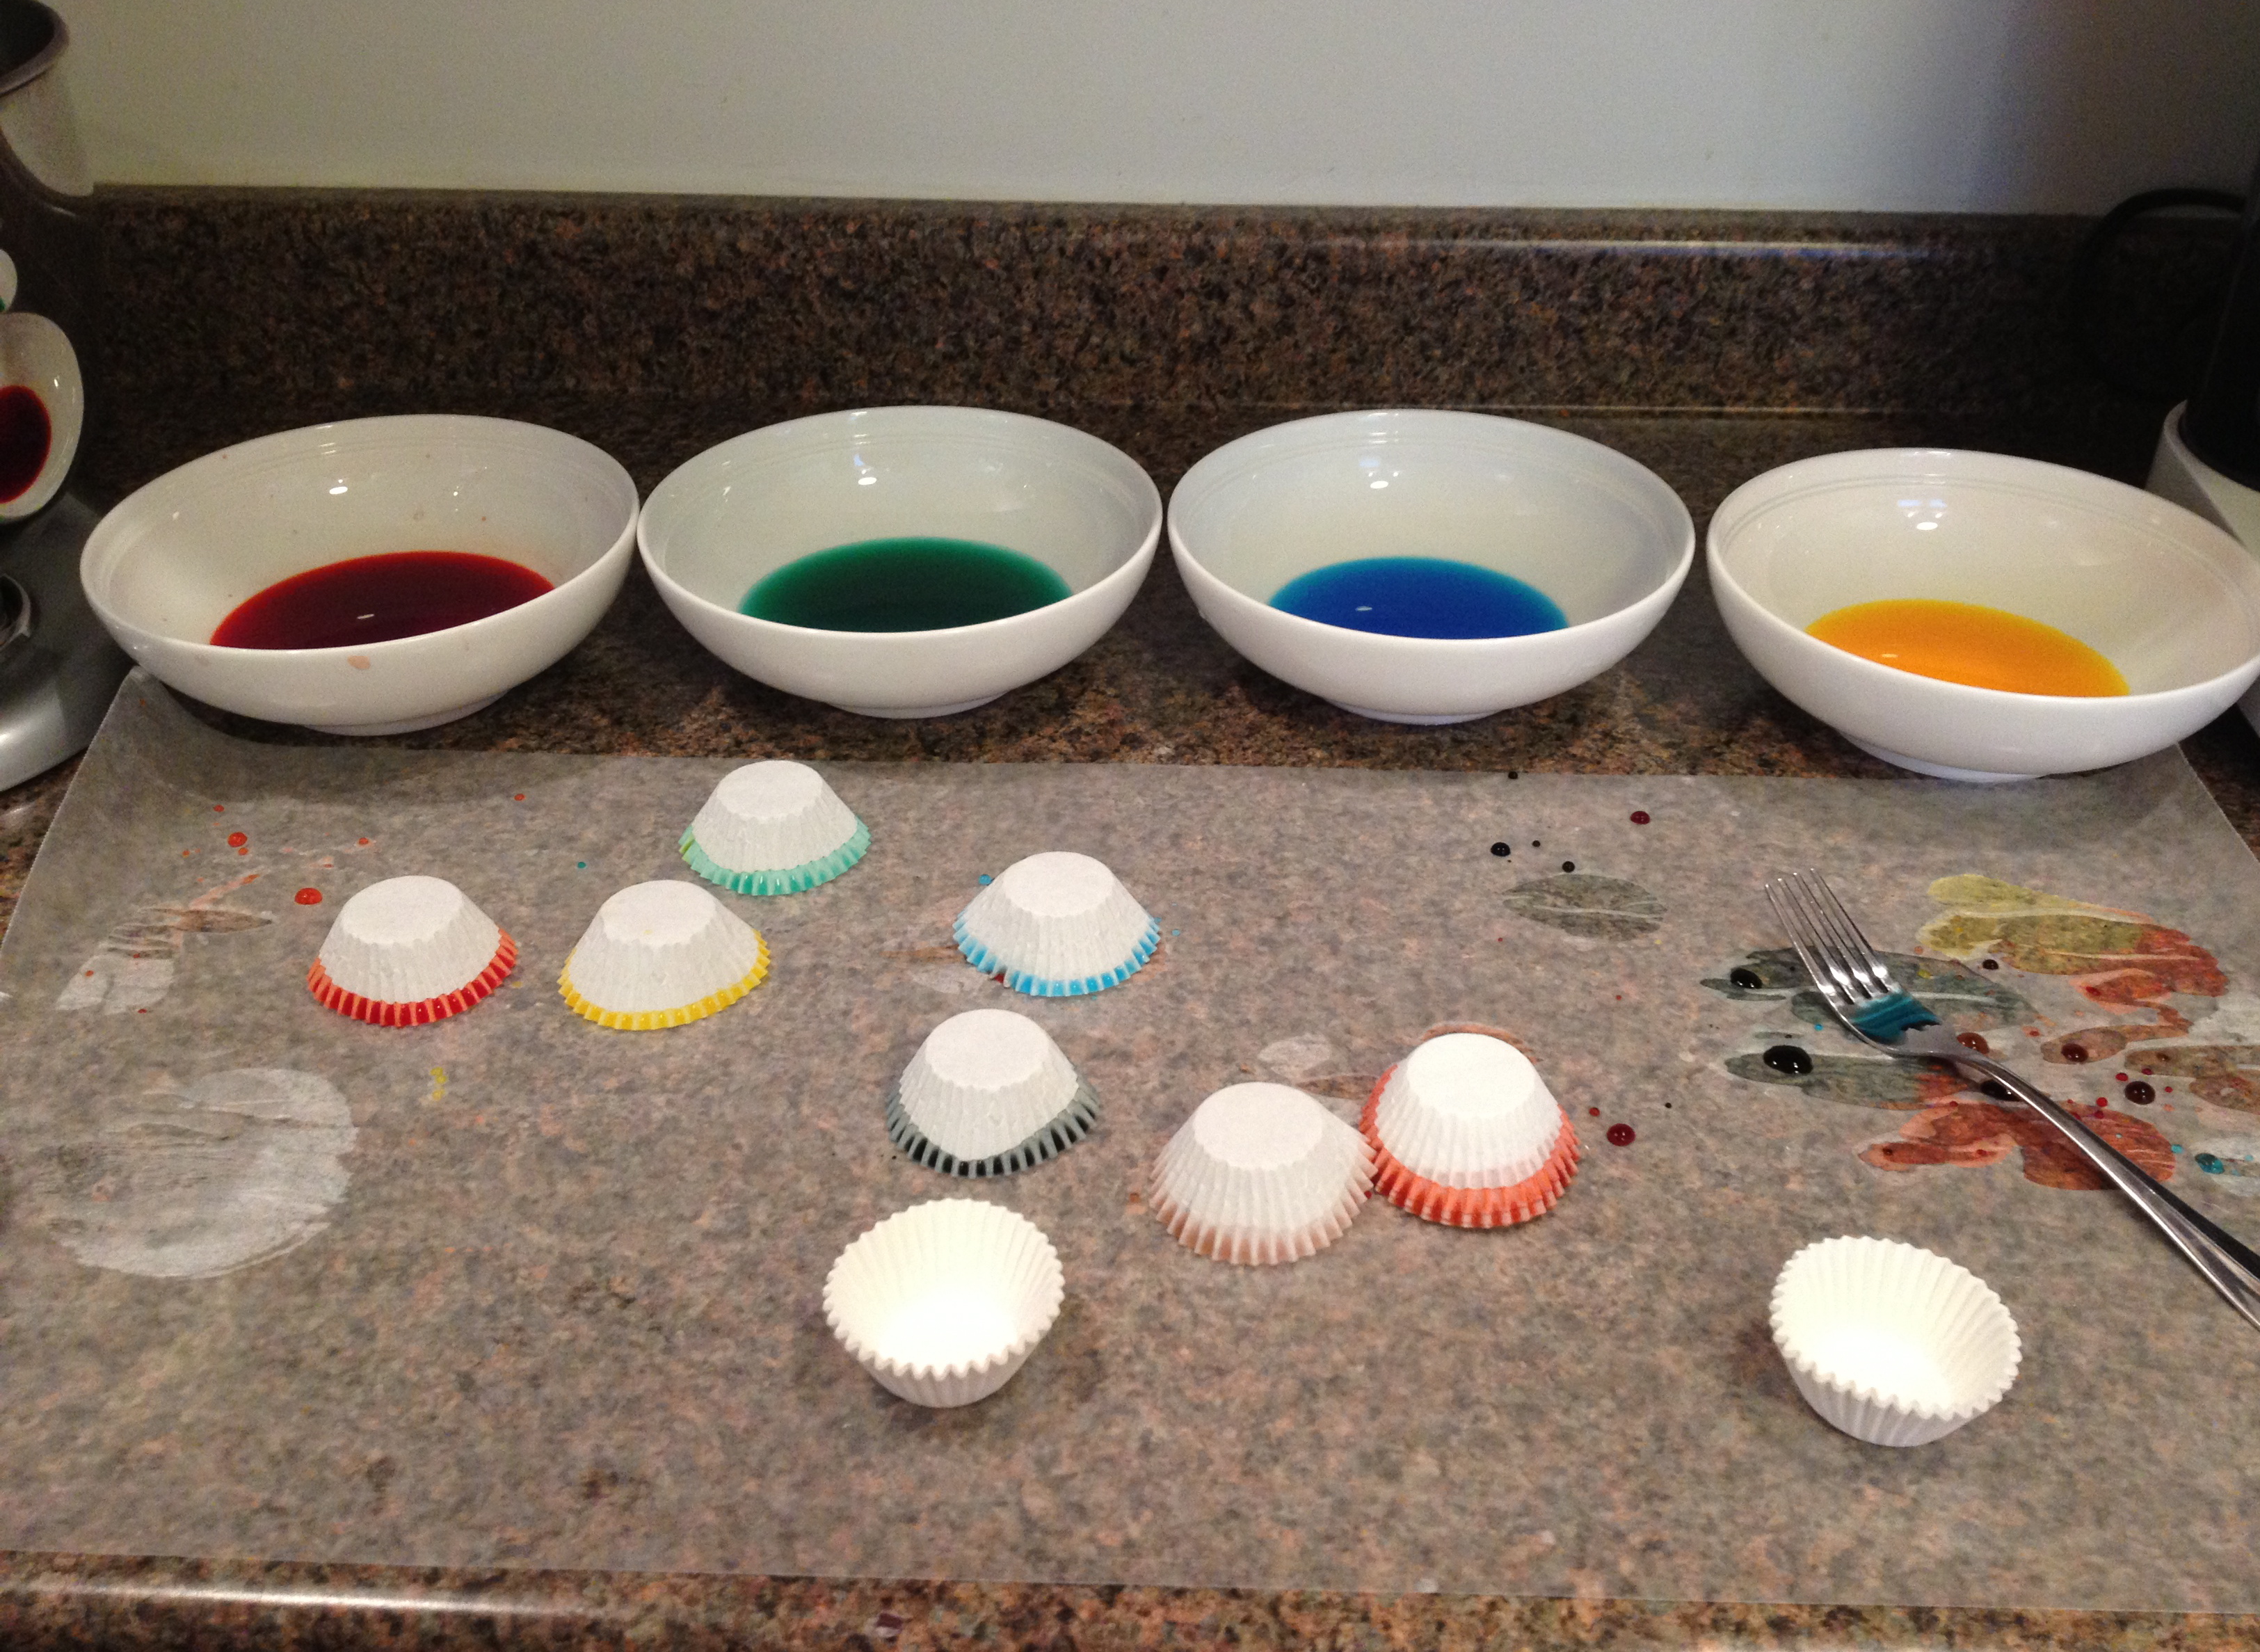
First, I could not get my colors to come out the way I wanted. I had my heart set on purple, pink, seafoam, blue, and yellow. Based on Lauren’s experience, this shouldn’t be so hard.

I KNOW that blue and red make purple. And red and water should make pink, just like Lauren says. So why did mine look like this:

Eventually, I blamed the problem on crappy food coloring, took a deep breath, and decided that blue, seafoam, and yellow would be just perfect.

For my project, I needed 300-400 cupcake liners. Which means I spent my entire afternoon peeling apart liners, dipping & swirling them, and covering my fingertips in dye.

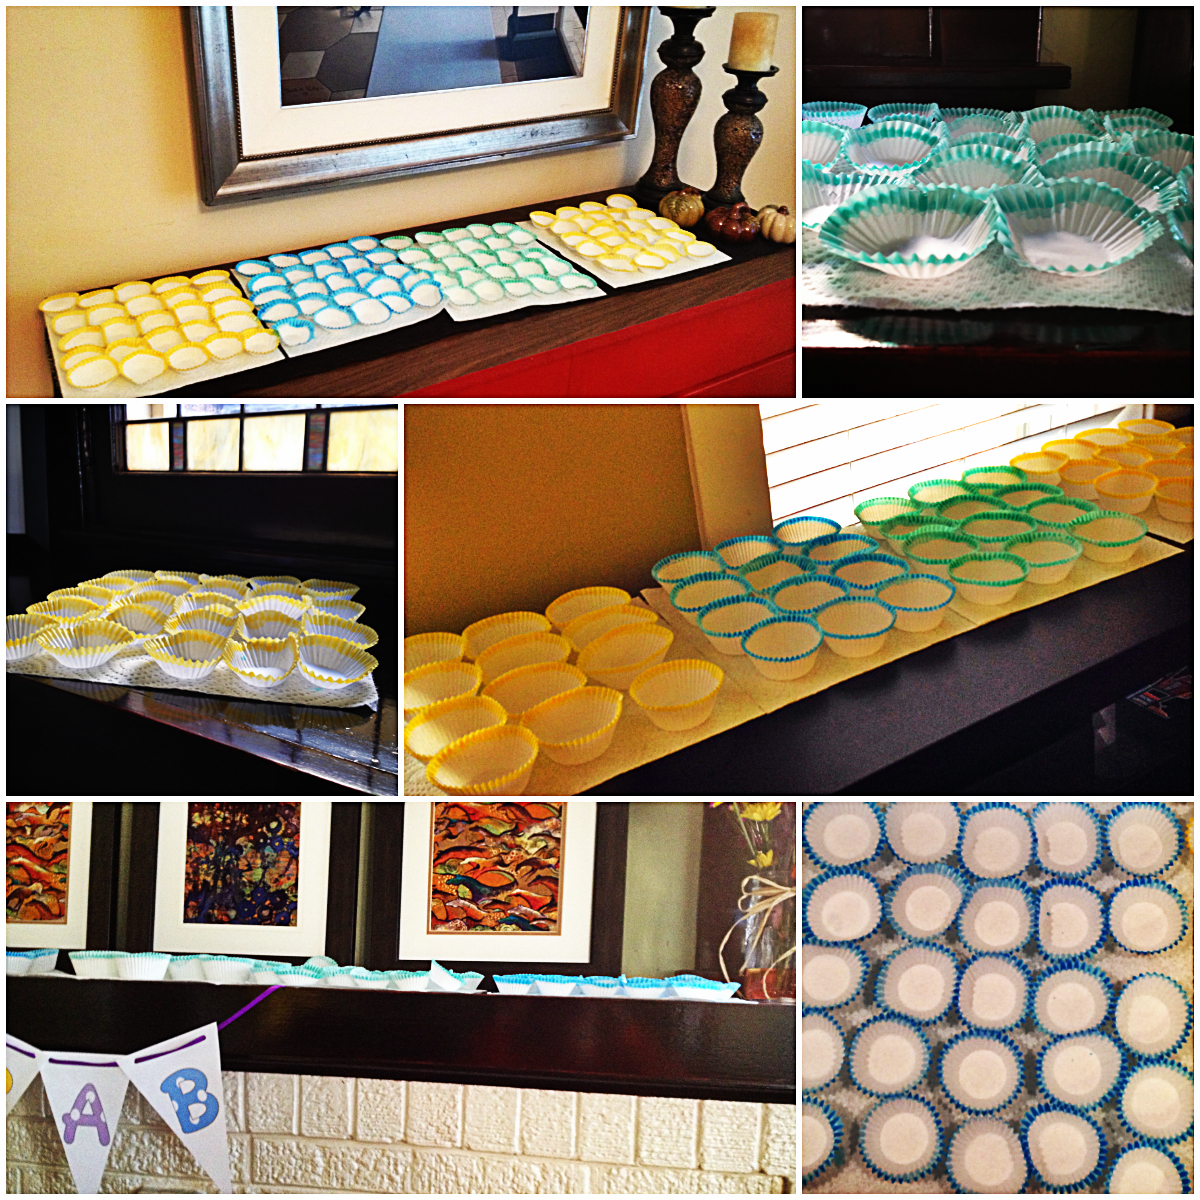
Oh, and should you attempt to do this many liners at once expect to have liners drying all over your house for a solid 12-16 hours.

A few tips from me:
- Do not choose wax paper to line your work space. You are probably smarter than me and know this, but the water soaks right through. Paper towels worked just fine.
- Buy extra liners for testing the colors. I probably used about 15-20 liners just trying to get my colors right.
- Invest in good food coloring. I don’t actually know if my color problems were becuase I bought the cheap, knock-off brand but just spend the extra fifty cents in case.
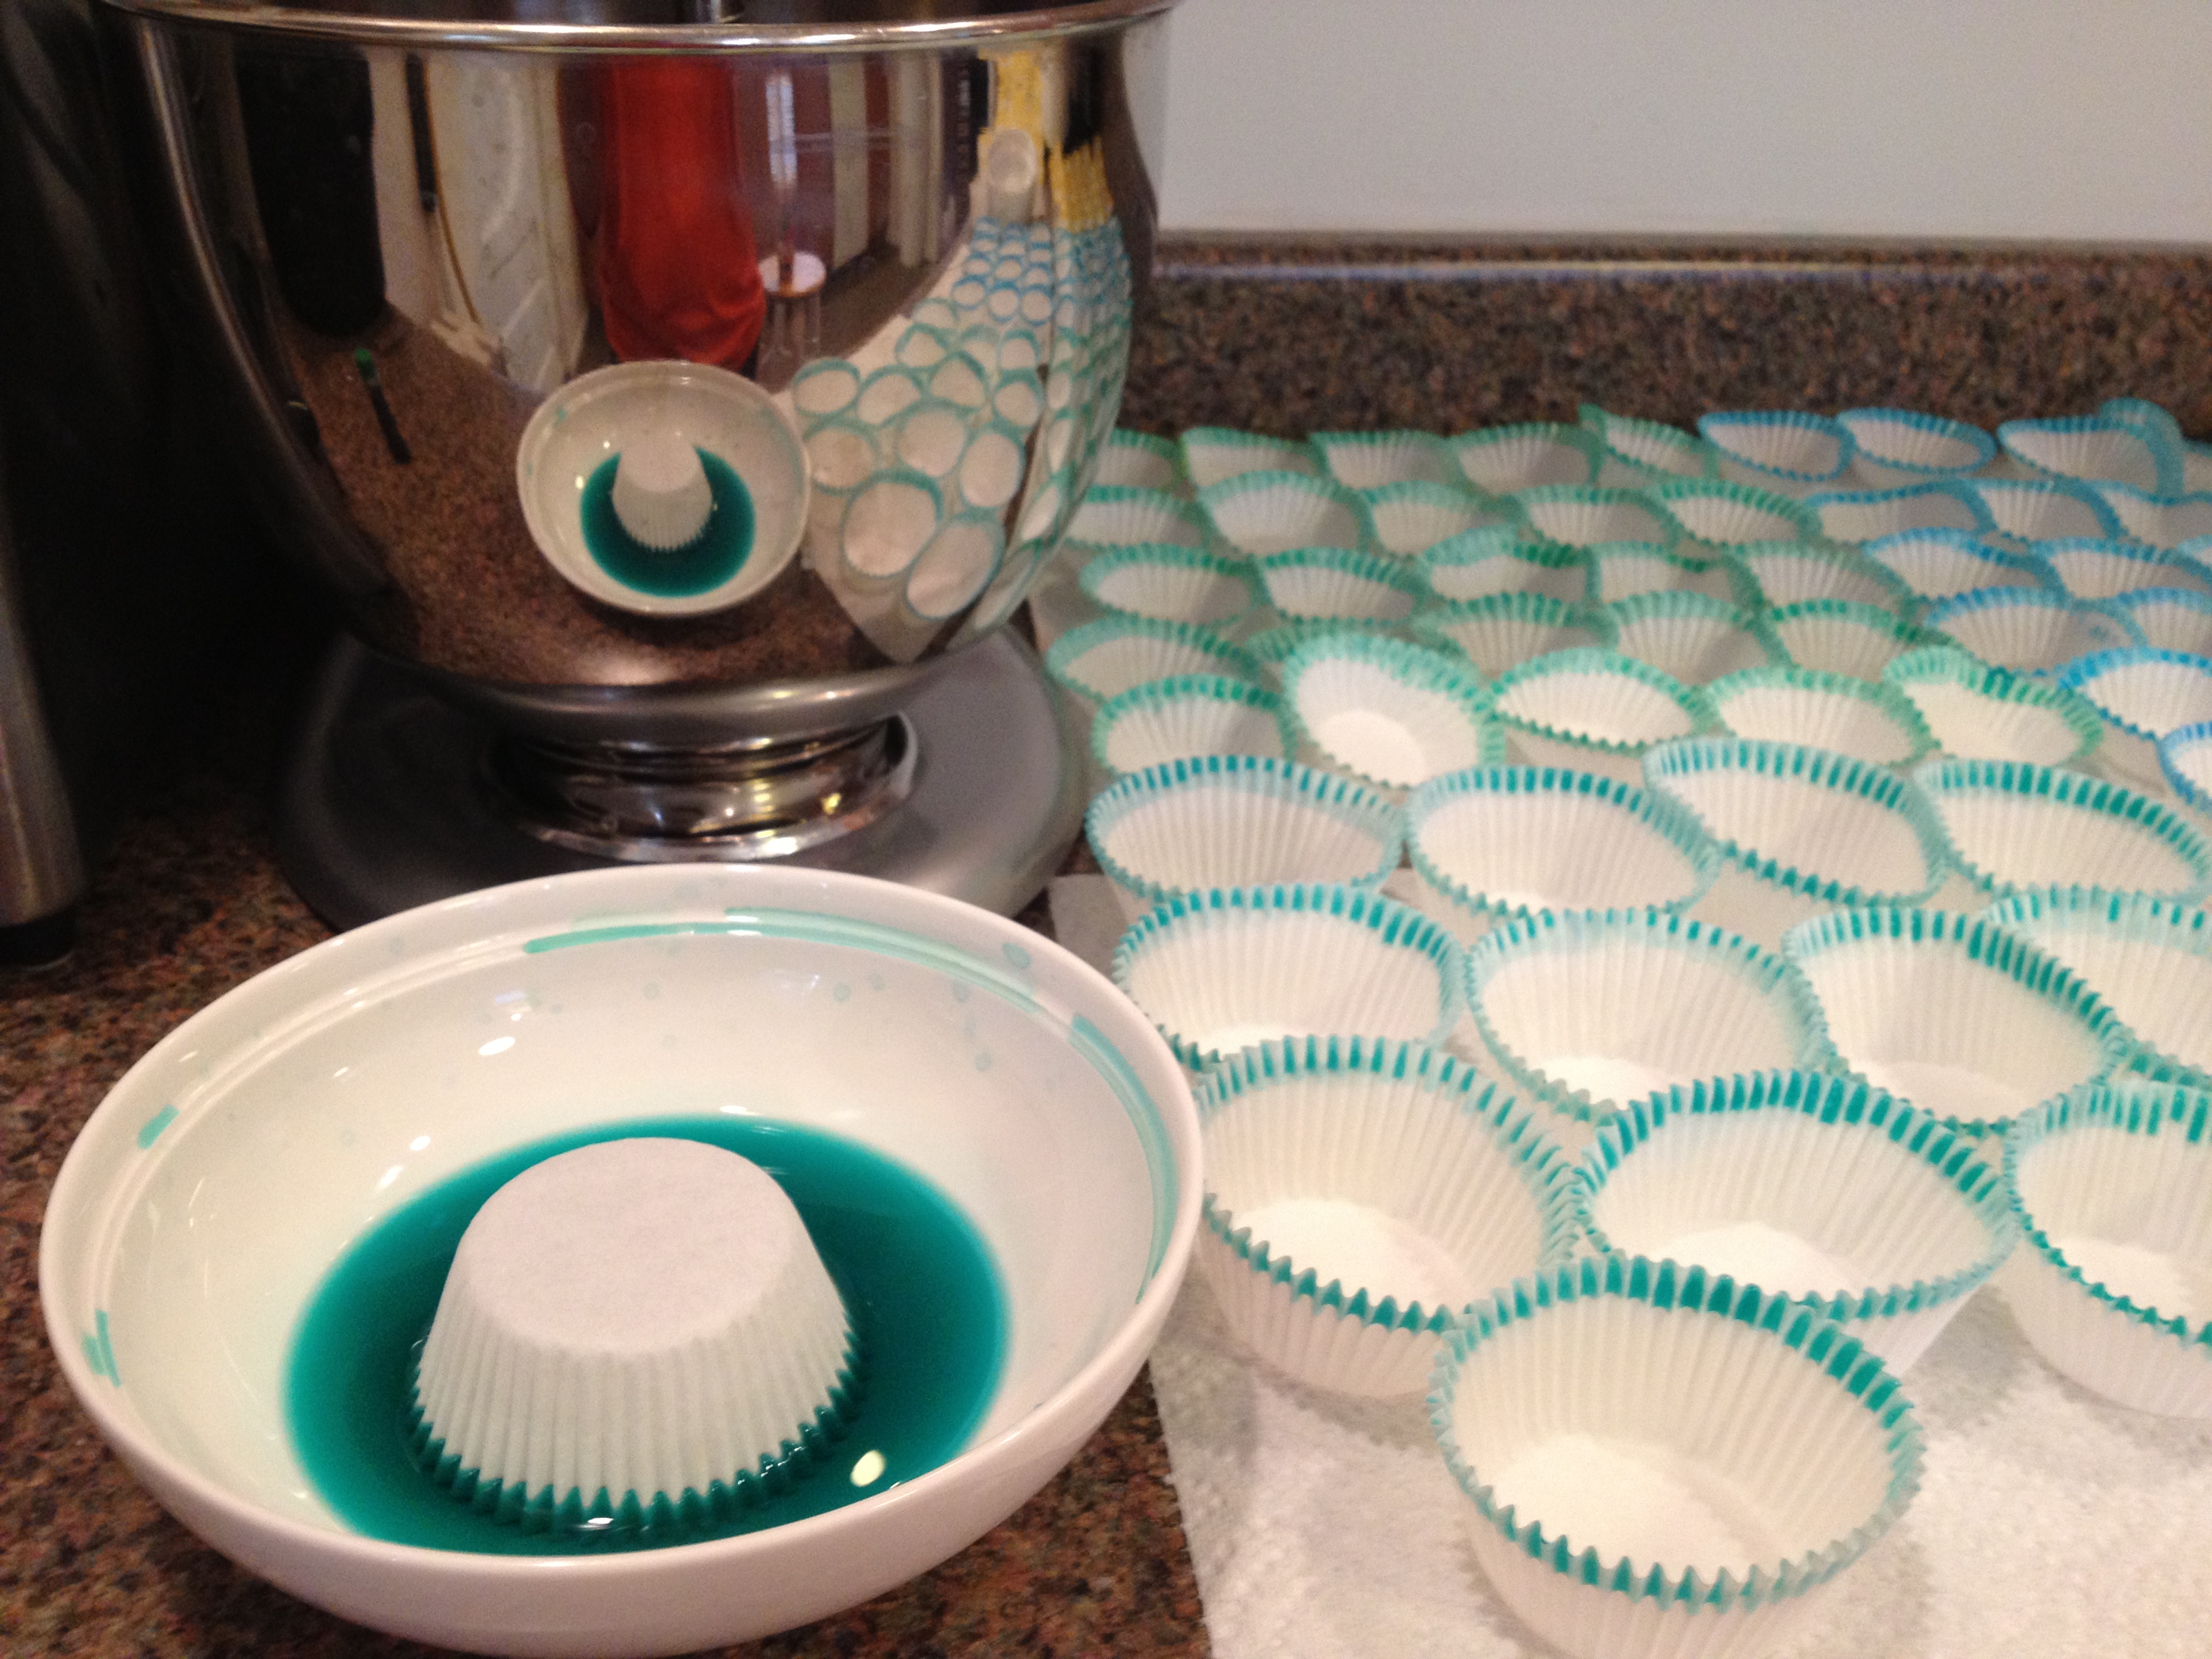
- The liners need to really soak in the color. A quick dip in and out won’t do it.
- It saves time if your bowl is big enough to do two liners at once. I was thrilled when I realized two mini-cupcake liners would fit in my bowls. I wish I had thought of it sooner. Doh.
- I found that swirling the liner in the dye was imperative to getting the color on both the outside and inside of the liner. This was important for my project. If you plan on baking cupcakes in them the inside may not matter so much.
- Do not put your liners upside down after dying. The color will seep out into your paper towel. They should dry as pictured above.
- Give the liners plenty of time to dry. Mine took 6-12 hours to dry thoroughly.
- Just expect to have dye all over your fingers that probably won’t wash off for a day or so. In other words, don’t do this with a fresh manicure. Reward yourself with one afterward.

1 thought on “Dyed Cupcake Liner Extravaganza”
Comments are closed.