I’ll never forget the year I attended 12 weddings in five months. Don’t get me wrong, I LOVE weddings. But celebrating all that love and happiness can do a number on a guest’s pocket-book. And since we’re in the thick of wedding season right now, I thought I’d help you all out.
Here’s an inexpensive DIY wedding present that’s both beautiful and meaningful for the happy couple.
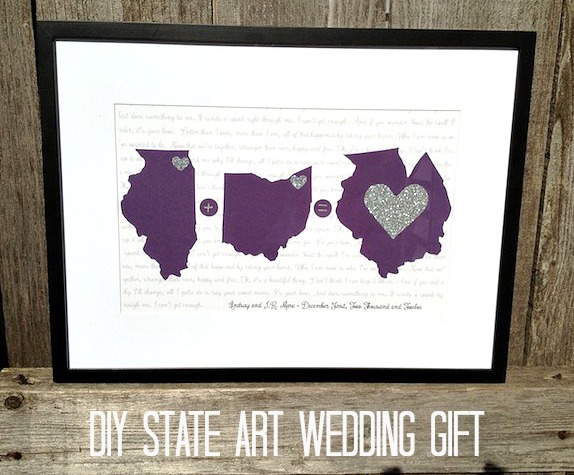
I made this for my dear cousin who married the love of her life last December. Their story involves so many states it was hard to decide which to include. She grew up outside Chicago while he spent his childhood in a small Ohio town. When they met she was living in Kansas and he was in Nebraska. They dated long distance for awhile and got engaged. Then a new job found them moving together to Cleveland. Does your head hurt yet? Mine too. I decided to go with hometown love. Illinois and Ohio it is!
Step One: Make your states.
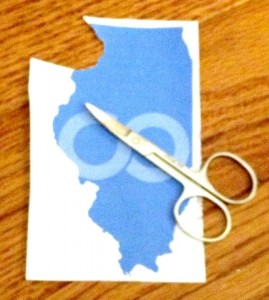
1. Find and print an image of your selected states.
2. Carefully cut out your states. I found it was much easier to get around all the curvy lines using these tiny scissors from my manicure set.
3. Grab the cardstock you’d like your final state to be and put your cut-out on it UPSIDE DOWN. Next, trace it. It helps to use a bit of tape to hold the cut-out in place while you trace. By turning it upside down when you trace, the lines will end up on the back of the state instead of the first. 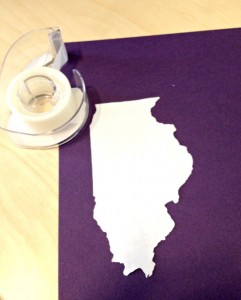
4. Cut out your traced state. Again, tiny scissors make your precision much better.
Step Two: Make your background
I chose to include the lyrics of the happy couple’s first dance and their names and wedding date on the background. Originally, I was going to have a calligrapher make it but found that was cost prohibitive. So instead I found a great free font online and made it myself. 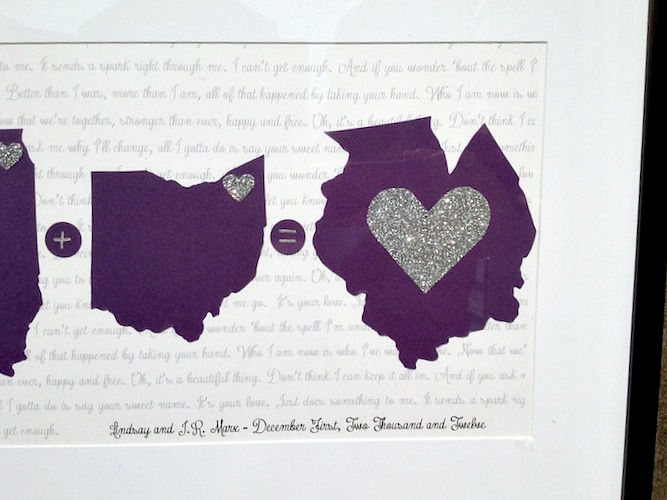
If you don’t want text on the background but want something more interesting than plain paper check out the scrapbook paper at your local craft store.
Step Three: Make optional additions.
I knew I wanted to include a small plus sign between the states and small hearts where their hometowns are on each state. You can either write the plus sign on the background, cut a plus sign out of scrapbook paper, or use a hole punch to create a raised embellishment like I did.
To make the glittery hearts I picked up a sheet of awesome glitter paper from JoAnn’s scrapbook section that also happened to be sticker paper! Score. I carefully cut out the heart shapes (a heart hole punch is a life saver) and got sticking. Heart shaped stickers can also be used or you can simply draw on the hearts.
Once I had Illinois and Ohio cut out and in my hands, I started playing with them and decided that I could make a heart like shape by combining the states. Then I followed the same steps as above to get my final cut out.
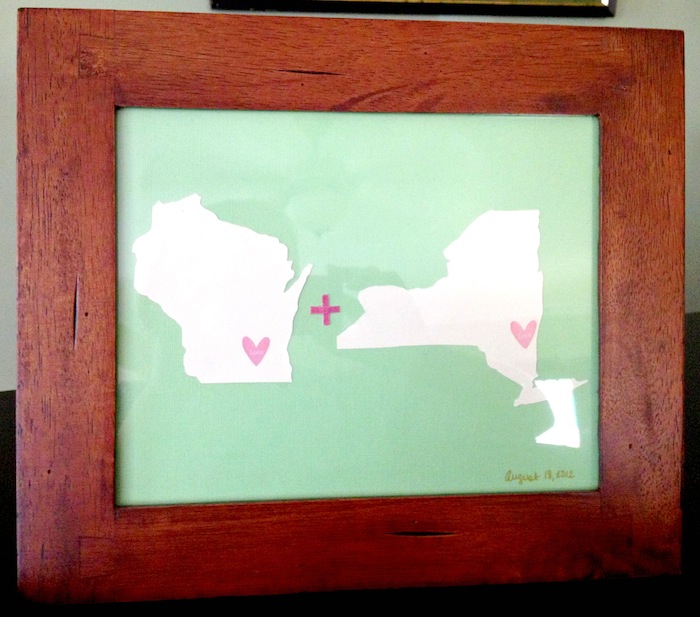
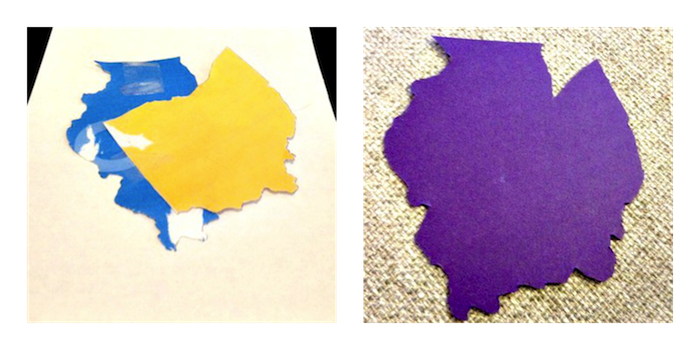 Of course, you can also make it as simple as you like. I made this simpler version for a couple friends who got married last summer. (Please excuse the glare on the glass!)
Step Four: Assemble it all!
Putting it all together is a breeze using permanent double stick tape. I ordered these frames from Amazon that came with mats included.
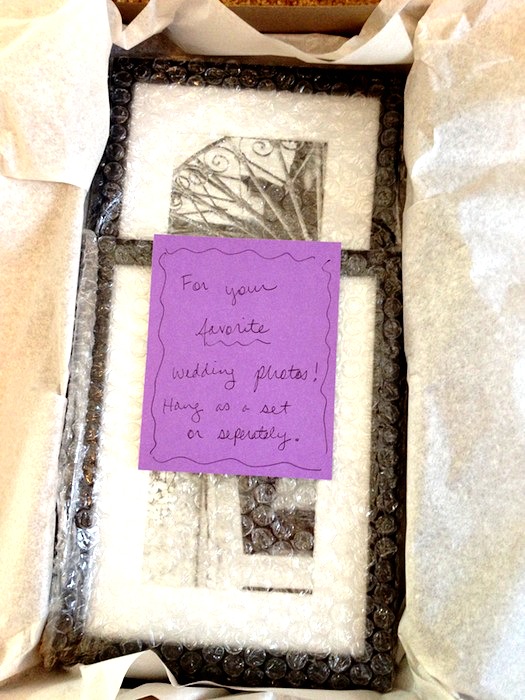
And to make it a complete gift, I included two matching 5X7 frames and mats for their favorite wedding photos.

